![]()
![]()
|
|
Chrysler Radio Button Repair The radio in my 1995 Eagle Vision started to act strangely. Pushing a button would often have the effect of pushing a different button. I opened the radio and found that push-button switches were connected into three groups; each switch in a group shorting a node in a series string of resistors to ground. The smallest resistance was about 2k Ohms. This series string fed 3 A/D channels on the bottom board. When the resistance of the contacts became greater than the difference between the resistors, the system would act on the wrong resistance value, selecting the wrong action. The following pictures and comments document the cleaning process that made my radio work correctly: (click on pictures to enlarge)
Face it . . . the radio is broken. The warranty is expired. What's the worst that can happen? From this point forward, you are on your own . . . (all legal disclaimers apply at this point) Remove the radio from the car. Remove the faceplate assembly. Remove the screws that mount the faceplate PC board.
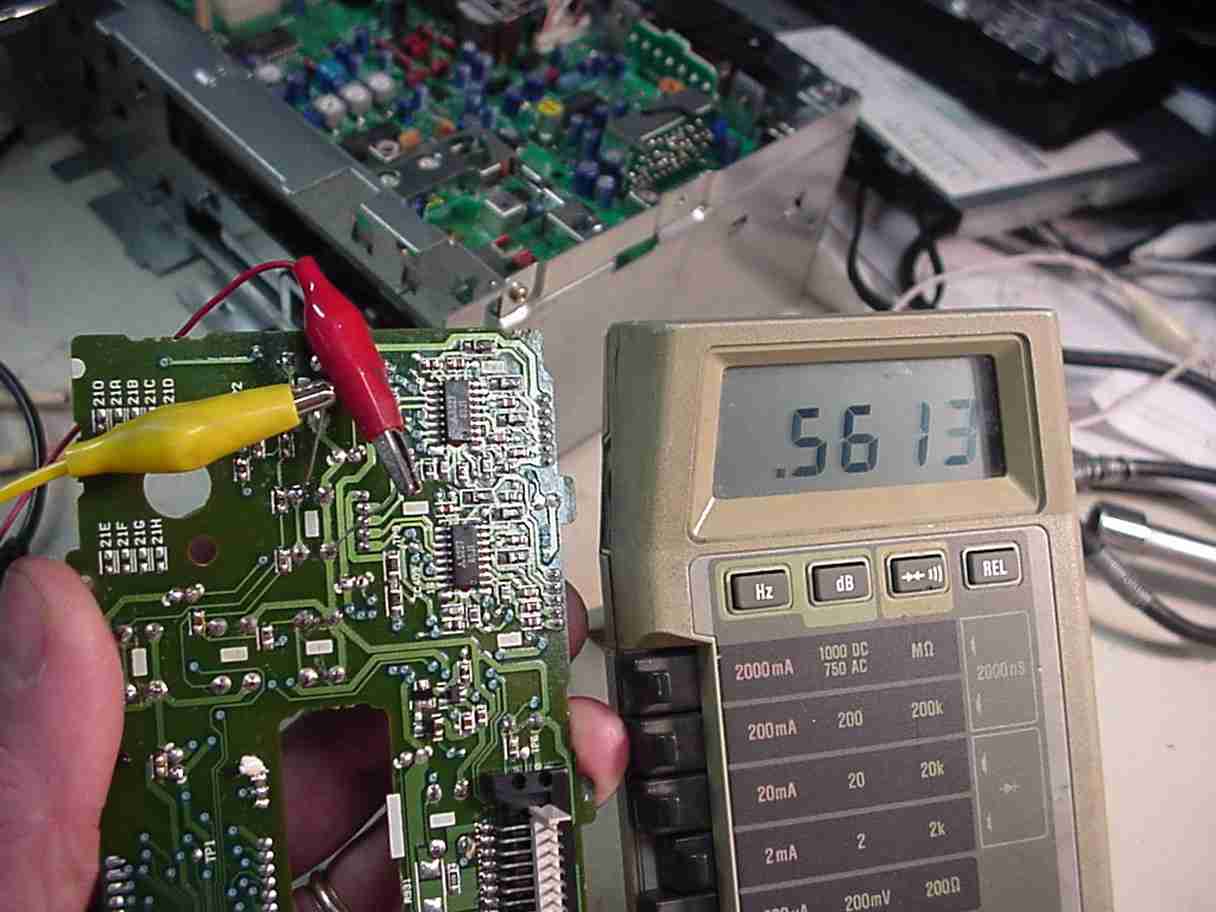
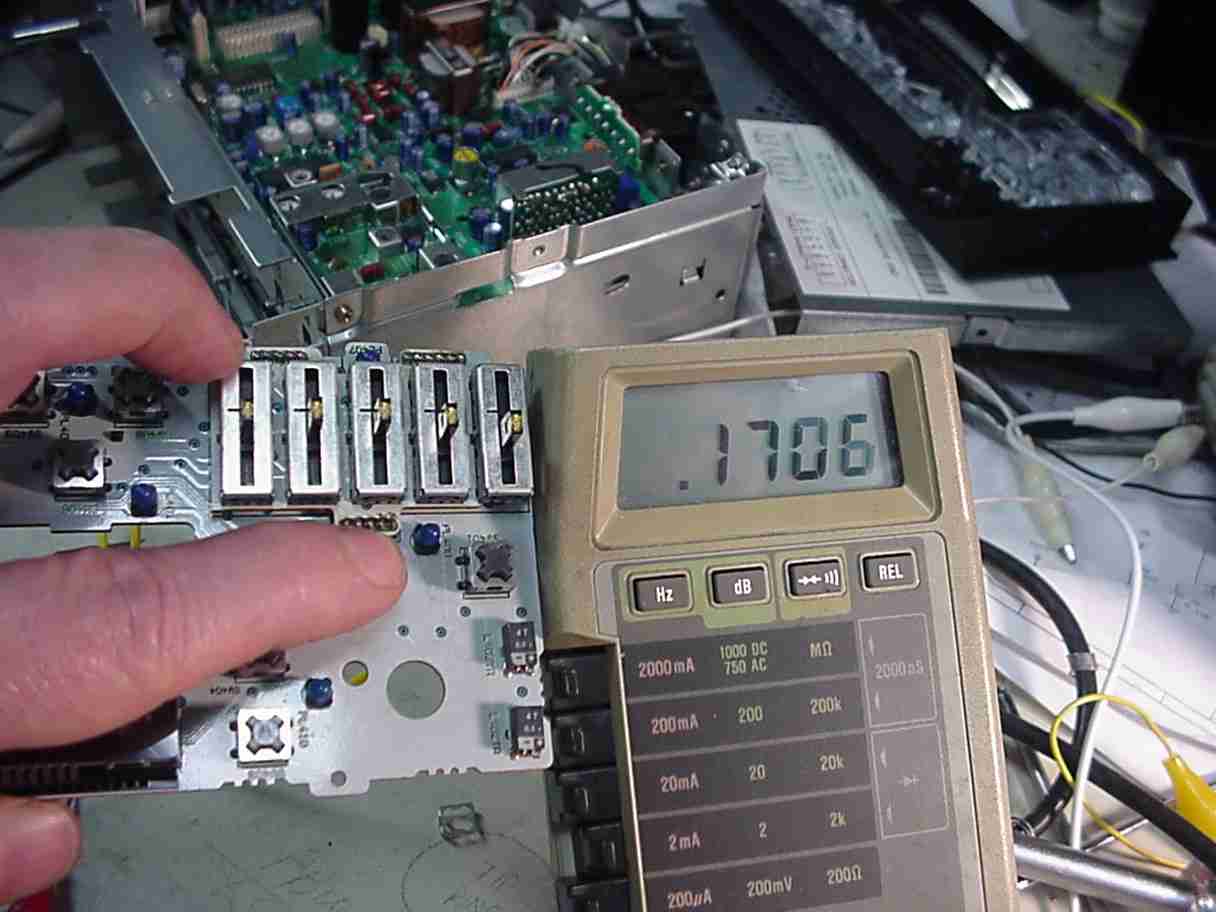
I soldered a pair of wires across each switch as I was working on it. This allowed easy connection to my ohmmeter.
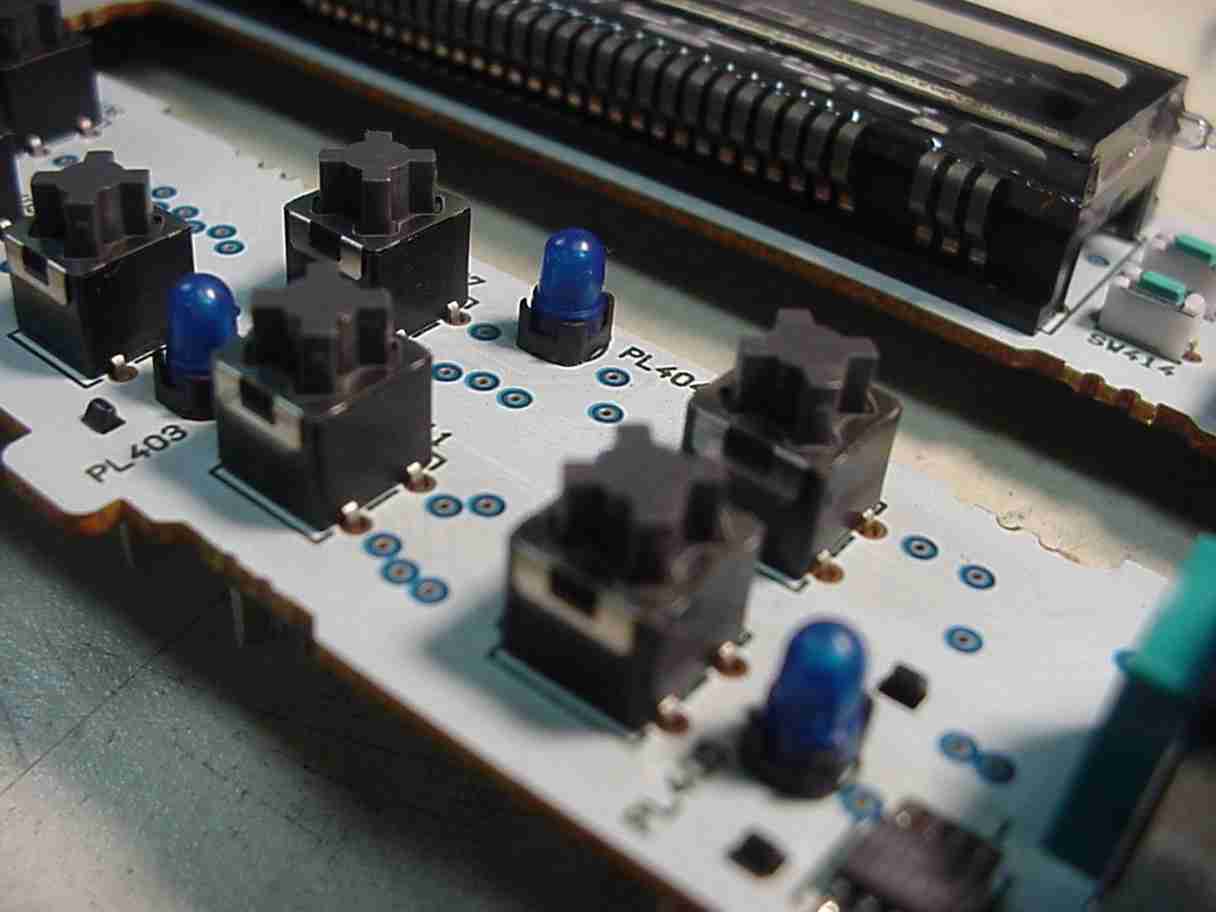
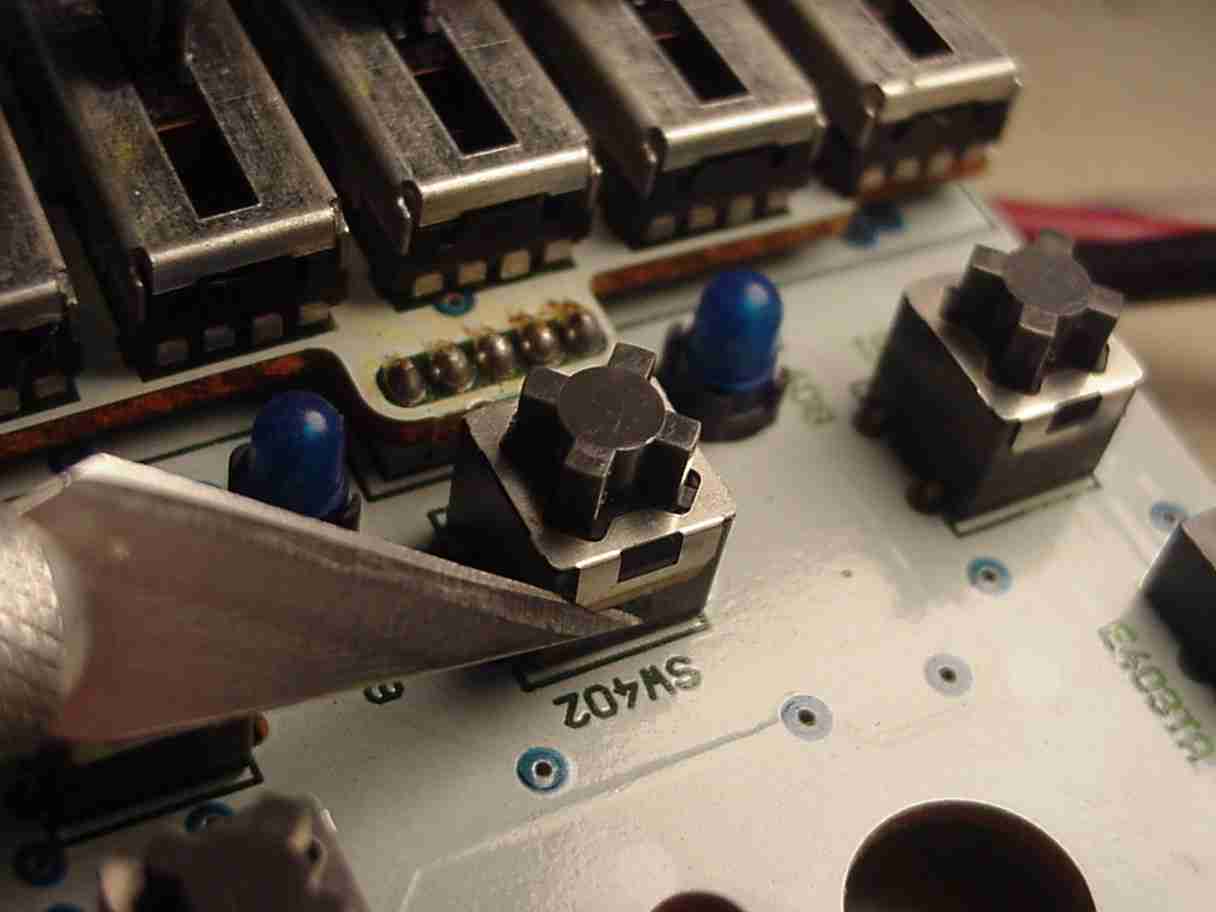
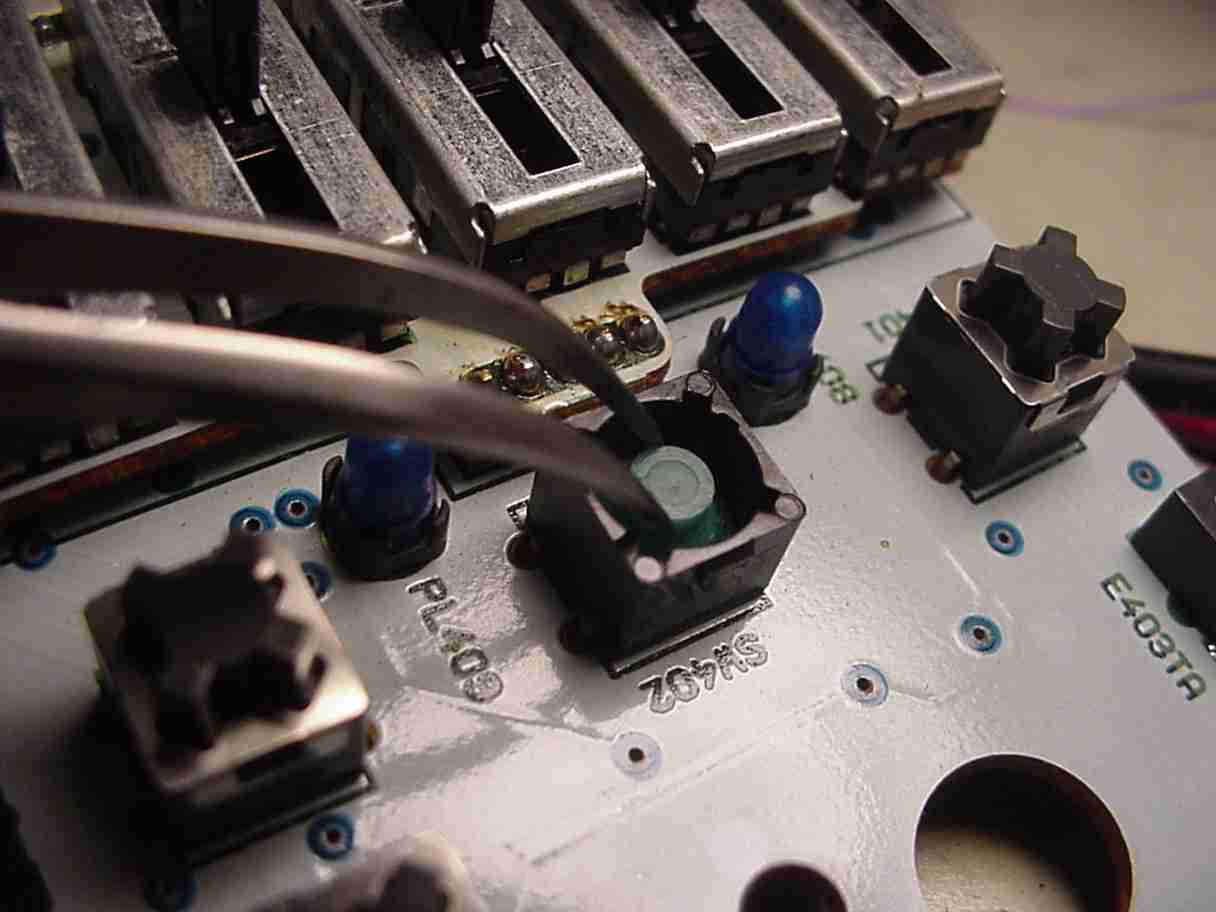
Pry one side of the spring clip away from the latching protrusion with a small sharp tool. Keep bandages nearby in case you do something stupid.
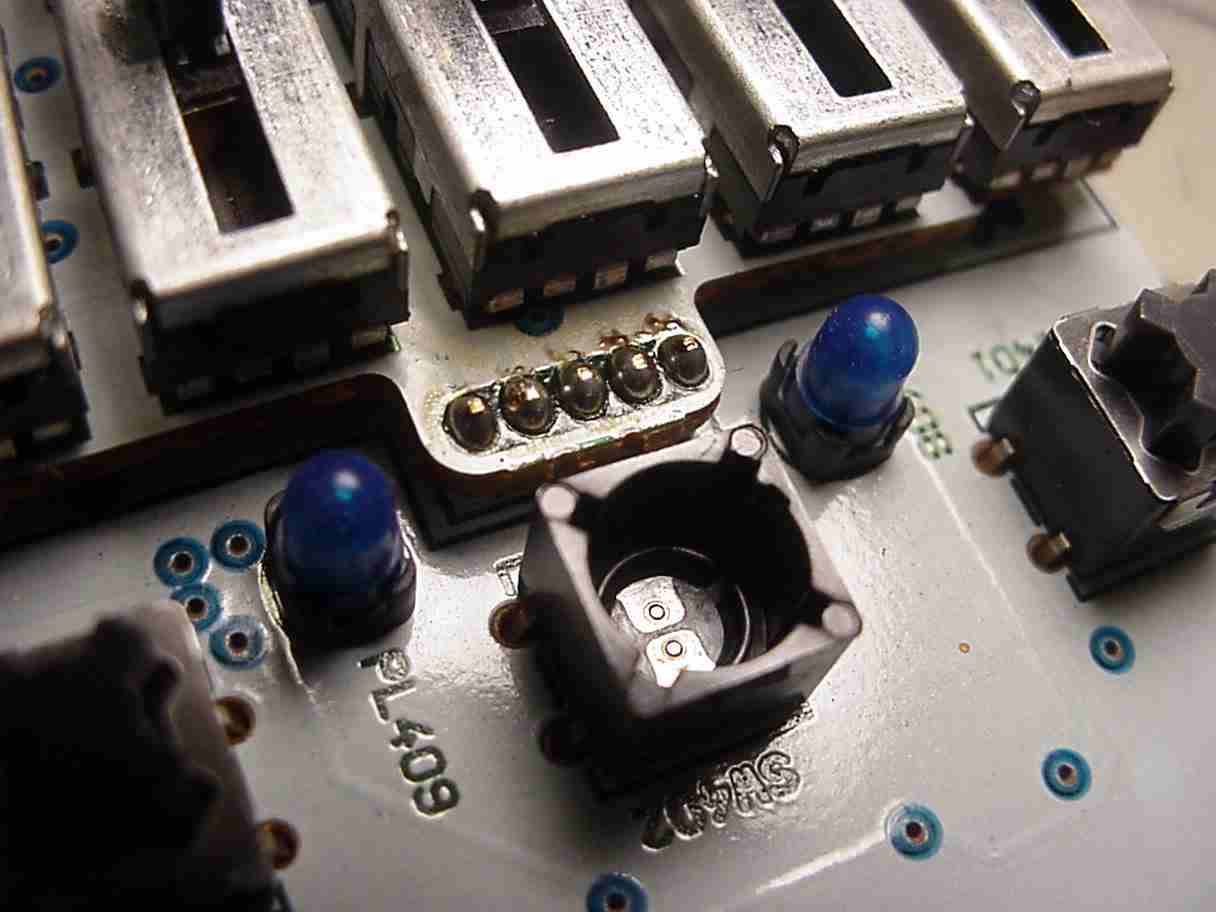
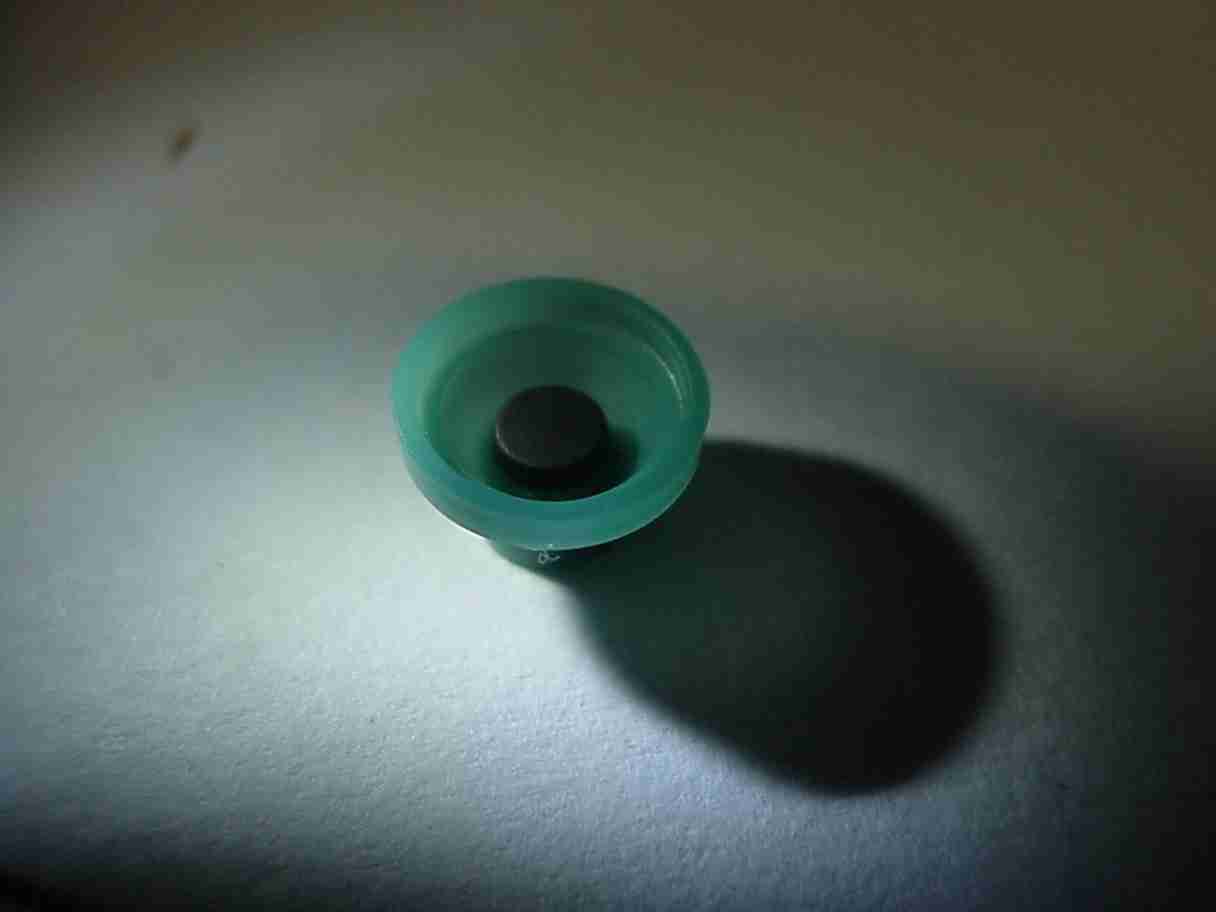
Lift and remove the clip, then pull out the hard plastic actuator to access the elastomer contact piece and the metal contacts.
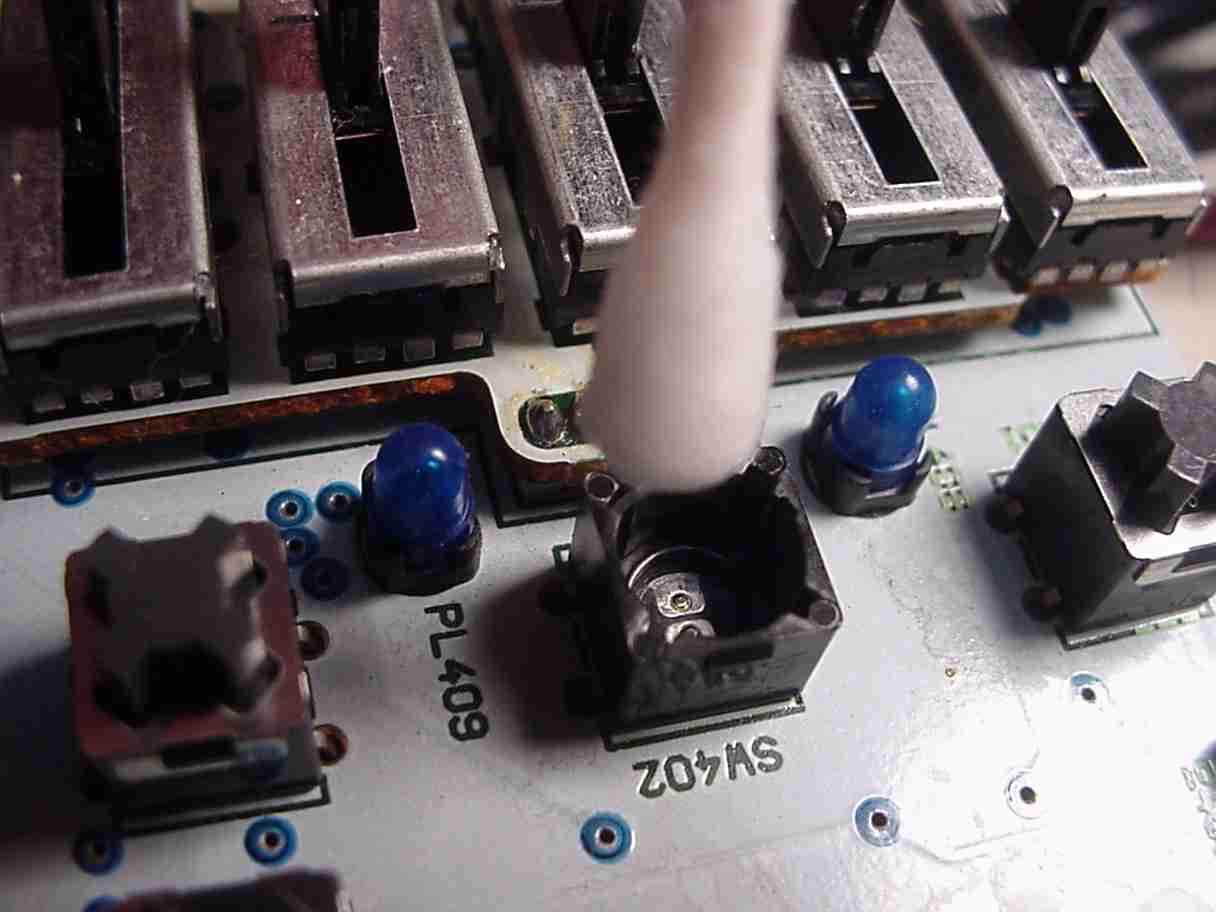
Apply a couple of drops of contact cleaning stuff. Don't use WD-40 or anything that leaves a residue. Anything with oil might be absorbed into the conductive elastomer button and cause it to disintegrate. If in doubt, apply it to a clean surface to make sure everything evaporates. I used "Big Bath" cleaner because it was there. I could have used alcohol or any other safe (won't harm plastic) solvent. Water would probably work, too.
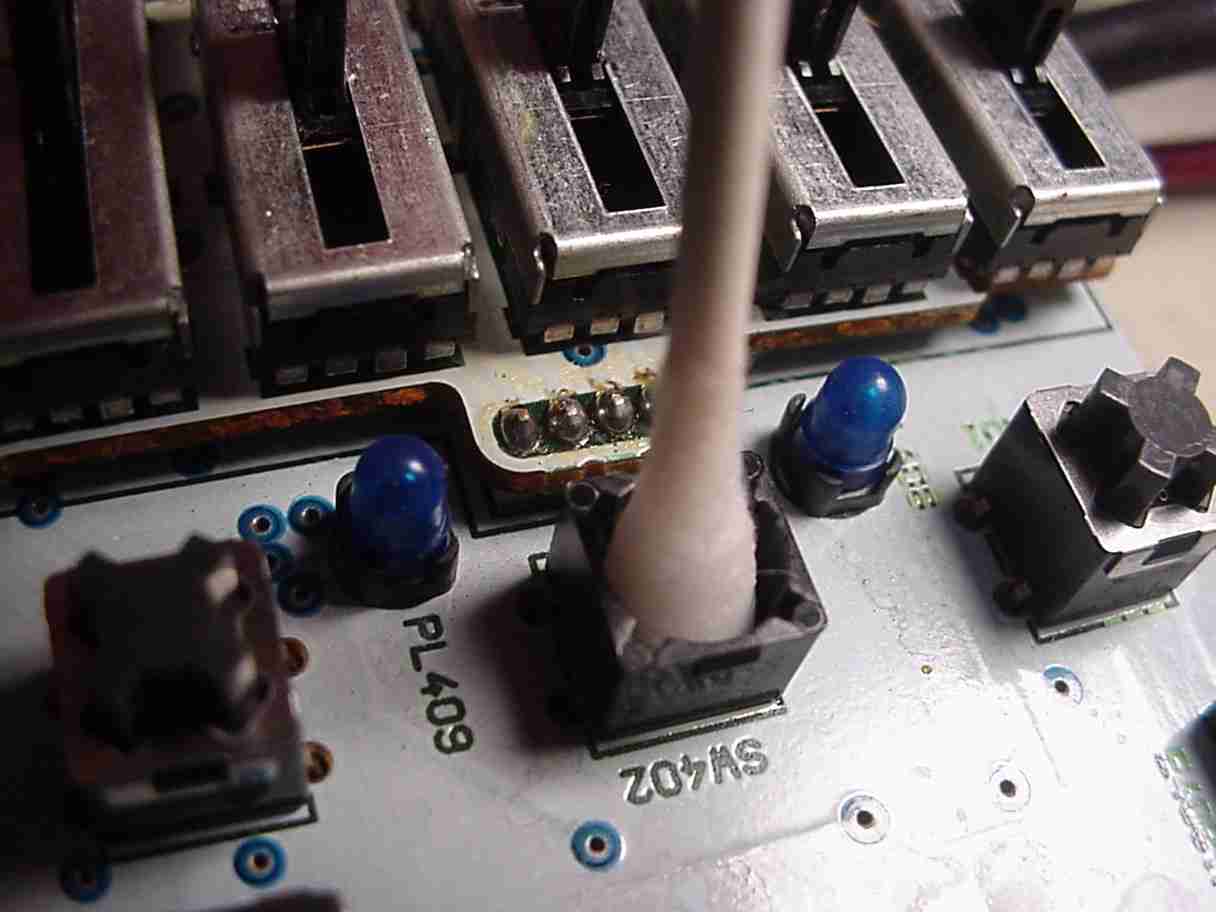
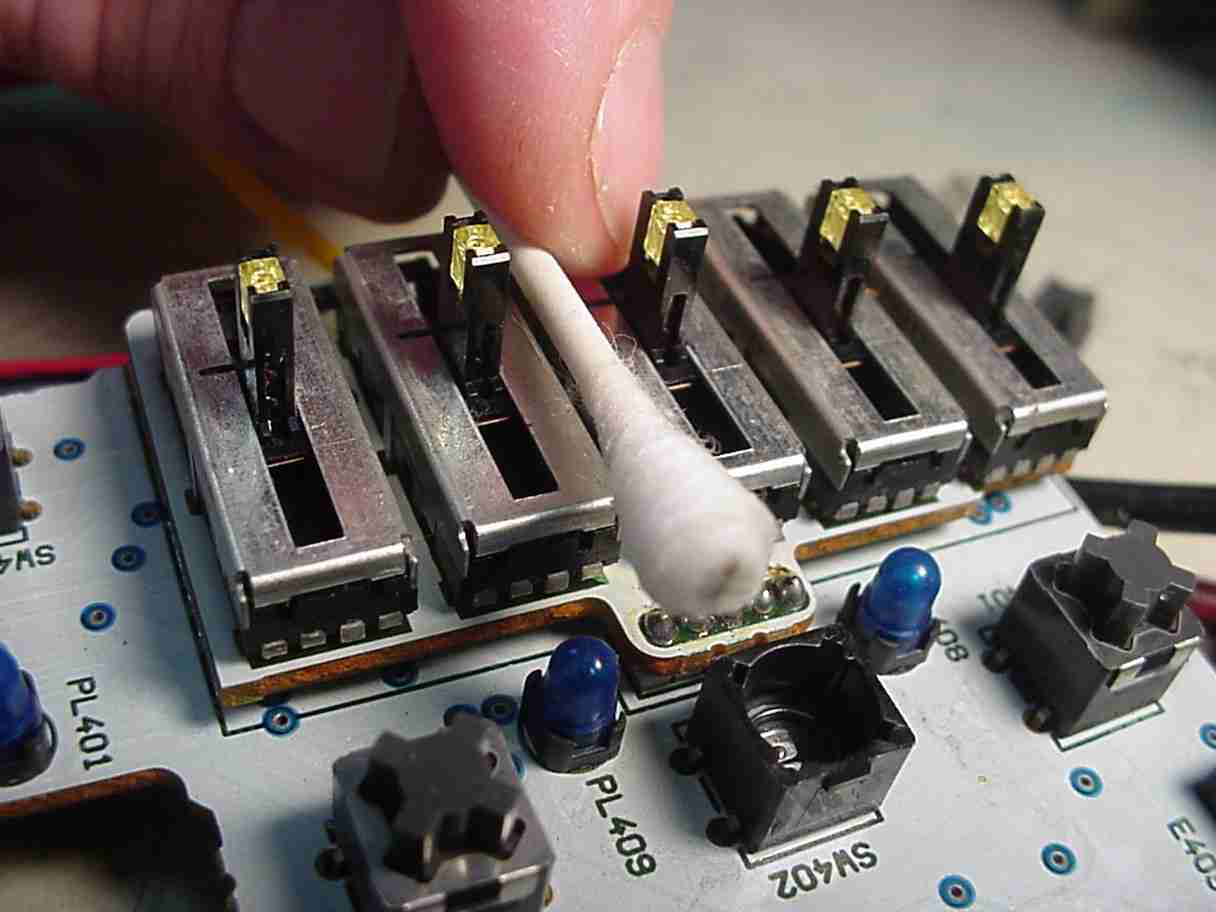
Press the dampened swab onto the switch contacts. Rub, Rotate, and Twist as you hope to clean any bad stuff from the contact points.
You may see "Dirt" on the swab, rewarding you for your successful cleaning actions.
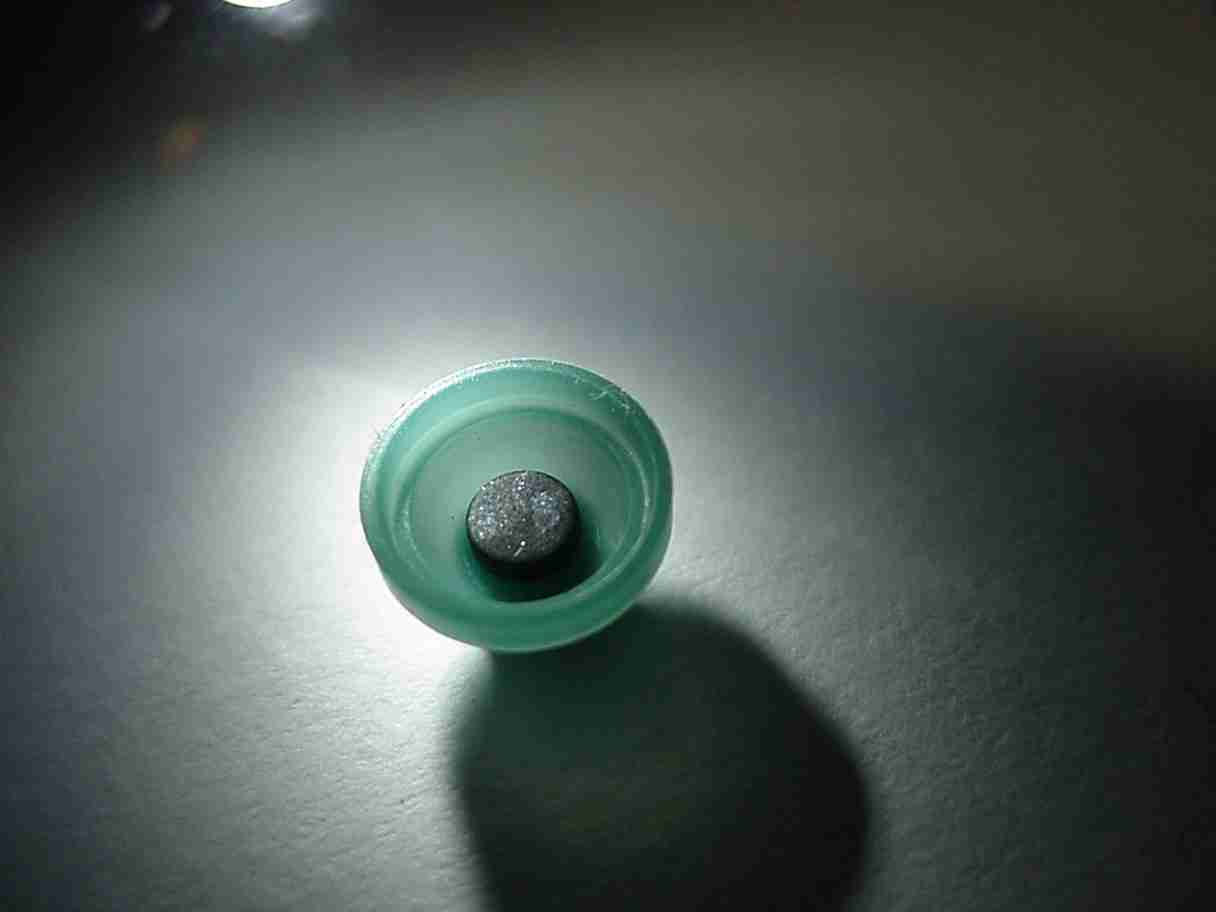
Carefully expose the conductive elastomer button by inverting the springy cone. Be aware that the thing may snap out of your fingers and go flying and rolling into some dark corner that you didn't even know existed. If you lose this piece, you might as well quit.
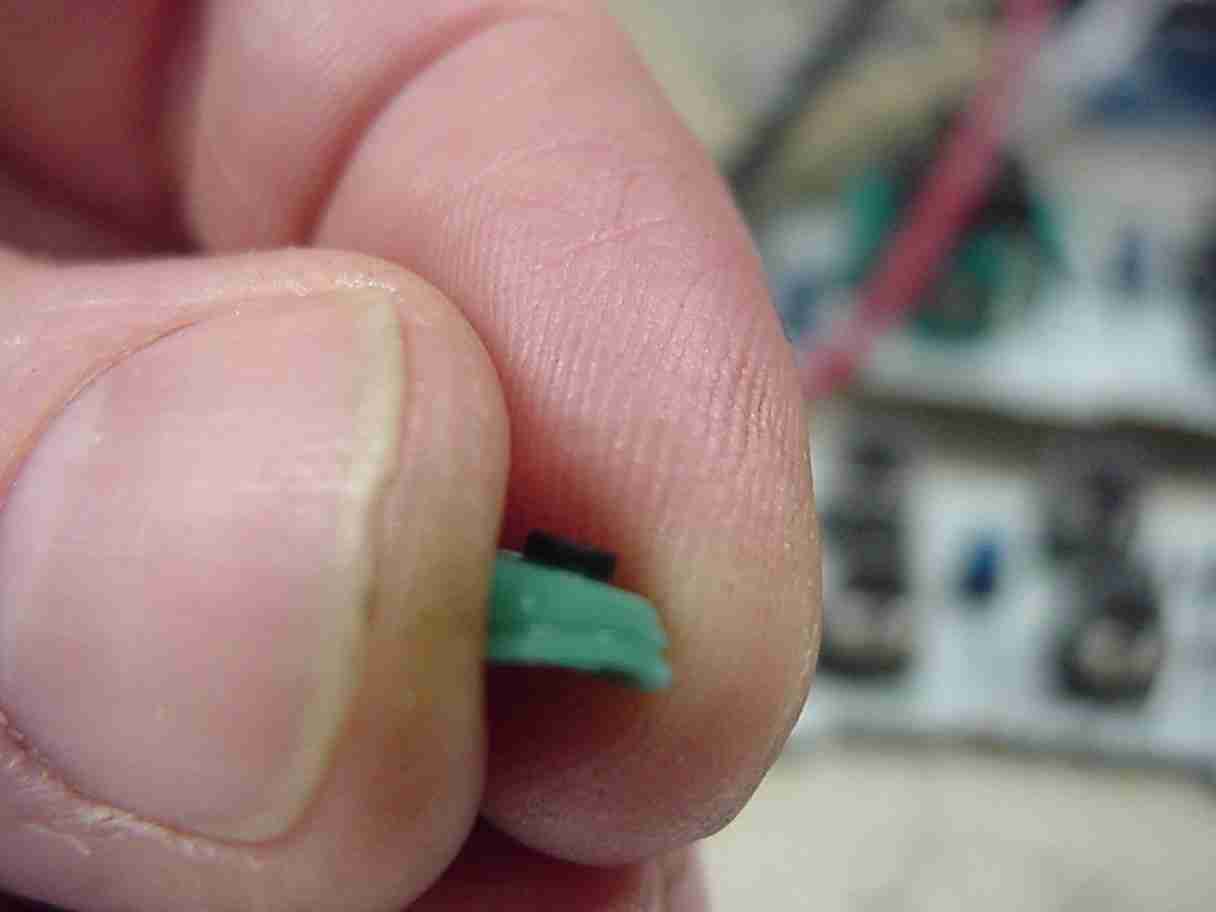
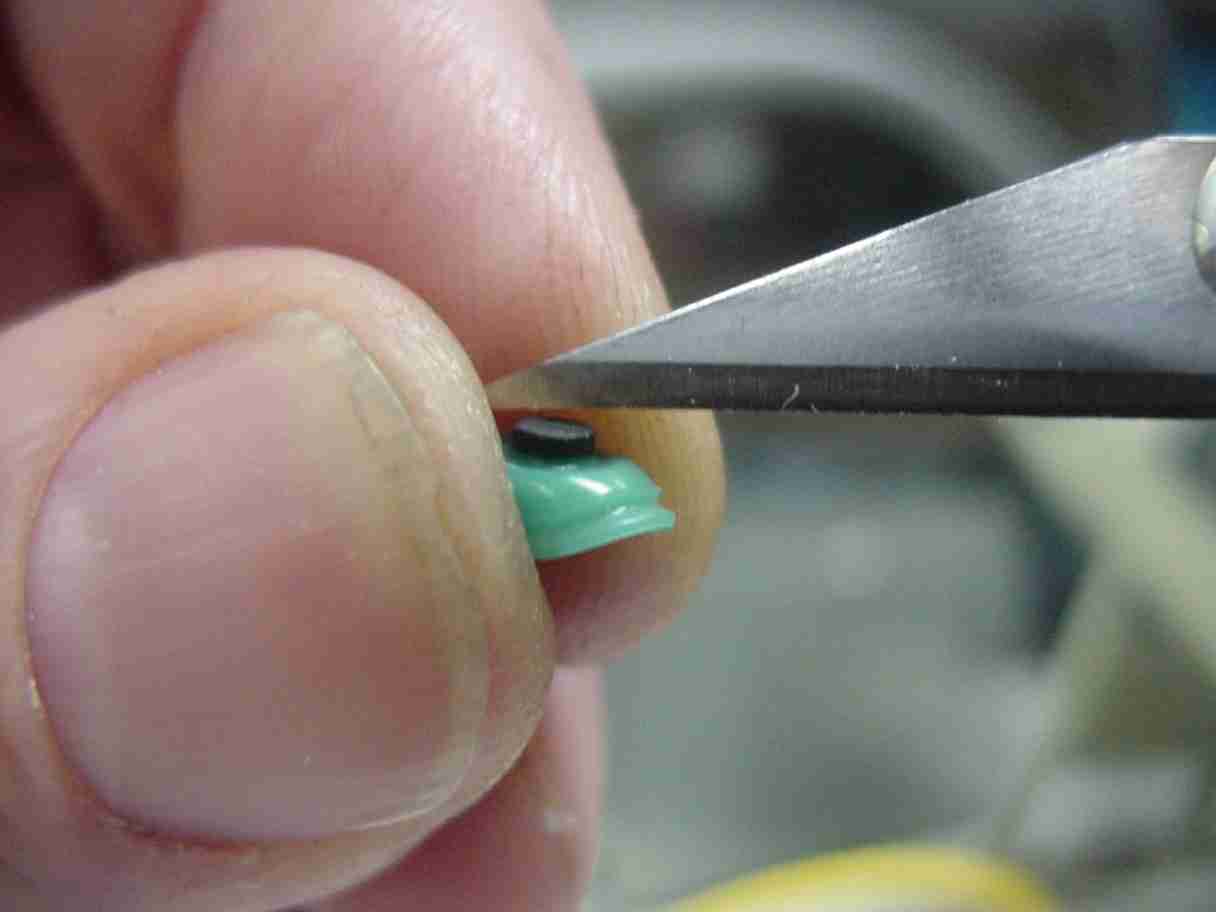
Carefully scrape the years of accumulated crud from the flat surface of the conductive elastomer button. I used an Xacto blade, gently scraping sideways, being very careful not to press hard enough to cut the button.
Re-assemble the switch. Check it. Do the same for all the switches. Put everything back together. Good luck!
. . . and while I was in there . . . I found a cold solder joint on a big (2 watt) 15 Ohm resistor in series with the filament of the vacuum fluorescent display. After fixing that, I could see what radio station I was on, again!
|
|
|